Below is a plate of some pretty pink butterflies and I have filled it up with some pink Easter Grass and eggs.
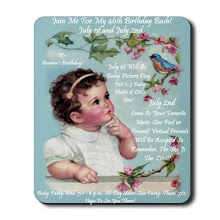
 This is our cute little niece. This was her bunny outfit this past Halloween.
 ~~~BELATED PROJECT FRIDAY~~ BUNNY FOLDED NAPKINS~~~~~~~~~~~
Project Friday is hosted by sweet Rosemarie at Sugar Plum Cottage, http://sugarplumcottage.blogspot.com/ . If you would like to participate, head on over every Friday and post your project and see who all is participating, you can read about all the details on her blog. Today my project is Bunny Folded Napkins. I saw this on Martha Stewart's website and thought this would be great for this Easter Holiday.

Fold your napkin up from the bottom and then from the top.

Then fold again.

Fold each side down the middle as shown below.

Then fold the bottom of each side up, making a square.

Then fold each side towards the middle as shown.
 This will be making the ears of the rabbit.
 Carefully flip it over.
 Then bring the bottom point up as shown below.
 Carefully flip it over and fold the right side towards the left side of the napkin half way

as you will then be folding the left side of the napkin and tucking it inside the pocket that was Then you can the bunny napkin up and place it on your plate.

Fold your napkin up from the bottom and then from the top.

Then fold again.

Fold each side down the middle as shown below.

Then fold the bottom of each side up, making a square.

Then fold each side towards the middle as shown.
 This will be making the ears of the rabbit.
 Carefully flip it over.
 Then bring the bottom point up as shown below.
 Carefully flip it over and fold the right side towards the left side of the napkin half way
as you will then be folding the left side of the napkin and tucking it inside the pocket that was
created when the right side of the napkin was folded over.
 Then you can the bunny napkin up and place it on your plate.
Happy Easter!
Hugs :)
Irma




.png)